Reduce, reuse, recycle. It’s a motto that not only helps us live a more sustainable life, but also a more creative one! And, it’s a concept that inspires me to share my love and respect for our Earth with my son, Otis.
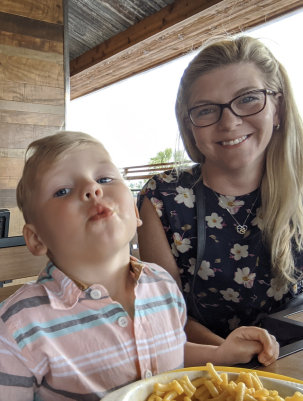
Jen & Otis
Now that we’re spending so much of our time at-home looking for ways to keep busy, while also learning and having fun, I’ve been doing a ton of eco-friendly projects. They teach Otis to admire the beauty of nature, without contributing waste, while bonding, having fun and covertly learning (!!!). I hope these inspire you to get creative with your little one in a very sustainable way.
5 eco-friendly DIYs for kids…
Recycled chunky crayons
Transform crayon nubs into multi-coloured magic
How-to:
1. Gather any broken or worn-down crayons and recycle the paper wrapping
2. Using an empty muffin tin, fill individual wells with chunks of crayon
3. Bake for 7-8 minutes in an oven preheated to 275°F
4. Let stand till cool and pop crayon disks out of the tin
5. Create a colourful masterpiece!
When you’ve worn down your recycled chunky crayons check out Indigo or Staples for new ones.
DIY Organic Food Colouring
Introduce your tot to more fruits and vegetables by turning them into coloured dyes! Perfect for outdoor snow art, yummy baked goods, and clay crafts.
How-to:
For red or pink, pulverize beets or berries. Strain off the solids and reserve the liquid (aka – your dye). You can add water to dilute it if the colour is too deep.
• For orange, repeat above steps with carrots.
• For green, repeat with spinach.
• For blue or purple, red cabbage is your best bet! For this, chop and boil cabbage until the liquid is dark and very concentrated. You’ll be left with a gorgeous purple dye. Add a little bit of baking soda to turn it into a beautiful blue hue – isn’t science magical!?
Need to restock your produce? Check out the Rakuten Gift Card Shop for gift cards from 20+ grocery stores.
Ice Ornaments
I like to combine this with a little neighbourhood scavenger hunt.
How-to:
1. Head out on a walk and collect some of nature’s gems. Pinecones, small stones, leaves, flowers, even shells depending on where you live, are ideal for this project.
2. Once home grab your muffin tin (silicone molds work well here, too) and string – your homemade food colouring would be great here, as well.
3. Fill each muffin well with an item from your scavenger hunt. Top off the muffin tin well or mold with water and a length of string. Place in the freezer.
4. Once fully frozen, remove from the mold. Take your glam ornaments outdoors to create your own ice mobile. Enjoy!
Need a muffin tin? Check out Linen Chest. Or, if you’d prefer a silicone mold Etsy or Bed Bath and Beyond has you covered.
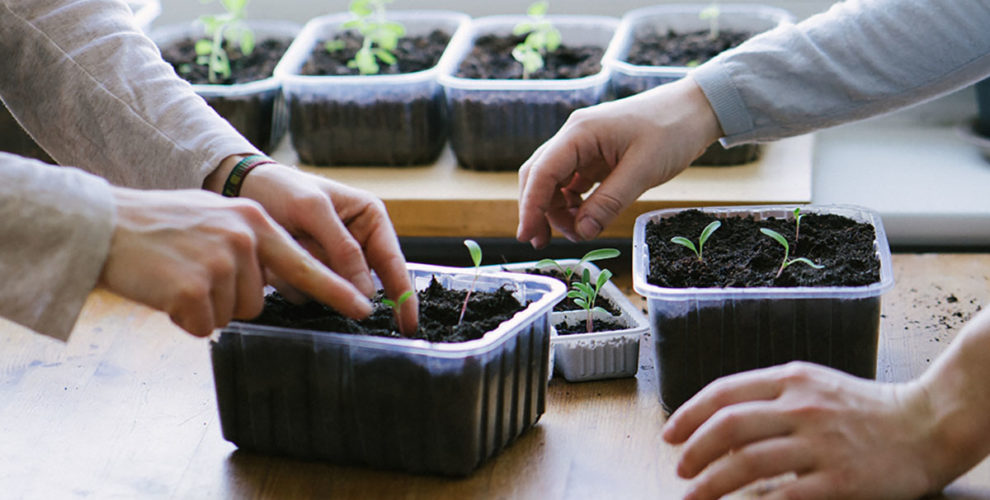
Spring Seedlings
My personal favourite because I firmly believe that robust gardens begin in the winter! This is a great project to teach your child about patience, kindness and where food comes from. Make caring for the seedlings a part of your child’s daily routine. Once flowered you can literally enjoy the fruits of your labour!
How-to:
1. Gather used containers, like egg or milk cartons, or yogurt/sour cream containers.
2. Fill each vessel with soil.
3. Plant your seeds (try a variety of flowers, plants, fruits and veggies) and label the containers accordingly.
4. Now, it’s time to wait!
In the spring, you can transfer the sprouted plants to bigger pots or garden beds. Don’t forget to maintain their care routine with regular weeding and watering.
Searching for seeds? Visit Home Depot or Rona for seeds of every variety. Biodiversity is the key to a thriving garden!
Snowy Science
This one is quick and easy, and perfect for a fresh snow day. As a bonus, the clean-up is super easy!
How-to:
1. Make 5 snowballs and place them gently into your handy-dandy muffin tray.
2. Keep one snowball as the control (don’t experiment with it).
3. Then, test melting the others using salt, sugar, warm water and cold water.
4. Before you begin any melting attempts, have your child make guesses as to which they think will melt the fastest.
5. Get to testing your melt time hypotheses!


0 Comments